Difusor Lampu LED Strip: Cara Mereka Mendistribusikan Cahaya Secara Merata untuk Desain Optimal
Have you heard of an LED Strip diffuser? Are you an architect, designer, or engineer that deals with LED light projects?
If you haven’t heard of an LED strip diffuser—it’s fine. But If your answer is yes to the next question, then it’s clear that you know these two things:
1. LED lighting produces focused lights, which produces hot spots.
2. They are too bright and intense for specific areas sometimes.
Although LED lights play many roles in the design and aesthetics of a building, signage, automotive applications, etc., the issues above could pose a few threats.
Hence, you need a LED strip diffuser.
In this article, you’ll get all the answers you need—from its purpose, how to create it, to some FAQs.
Fungsi Difusor LED
We mentioned the primary function of the LED diffuser previously—which is evenly distributing LED lighting.
But there’s more.
Recently, the LED diffusers help to regulate the color and add to the design of a location.
So, let’s jump into the reason why you need LED diffusers.
Fungsi Utama Difusor LED
Here are key reasons why LED diffusers are essential;
1. It’s excellent for scattering and spreading LED light within a location.
2. Diffusers help to remove hot spots when you’re using LED lights.
3. With diffusers, you can feel the soft light of the sun indoors. And this effect creates a natural feel of the atmosphere and clouds—while removing harsh shadow light. Also, the diffuser can produce soothing light for your eyes—thanks to its ability to break straight beams of LED.
DIY Difusor Lampu LED Strip: Cara Membuat Difusor Anda Sendiri untuk Lampu LED Strip
Here’s a step-by-step guide to creating an LED strip diffuser.
Langkah 1 – Dapatkan Perhitungan (Matematika) 1
For this article, we’ll use 5050 LEDs. Besides, they are the standard LEDs you’ll find on an LED strip. Plus, the LEDs are 5mm x 5mm.
Hence, if you have 60 LED lights per meter, it means you’d have an LED within 17mm on the strip. And the LEDs will have a beam angle of 120 degrees.
Langkah 2 – Beli Ekstrusi Aluminium yang Tepat
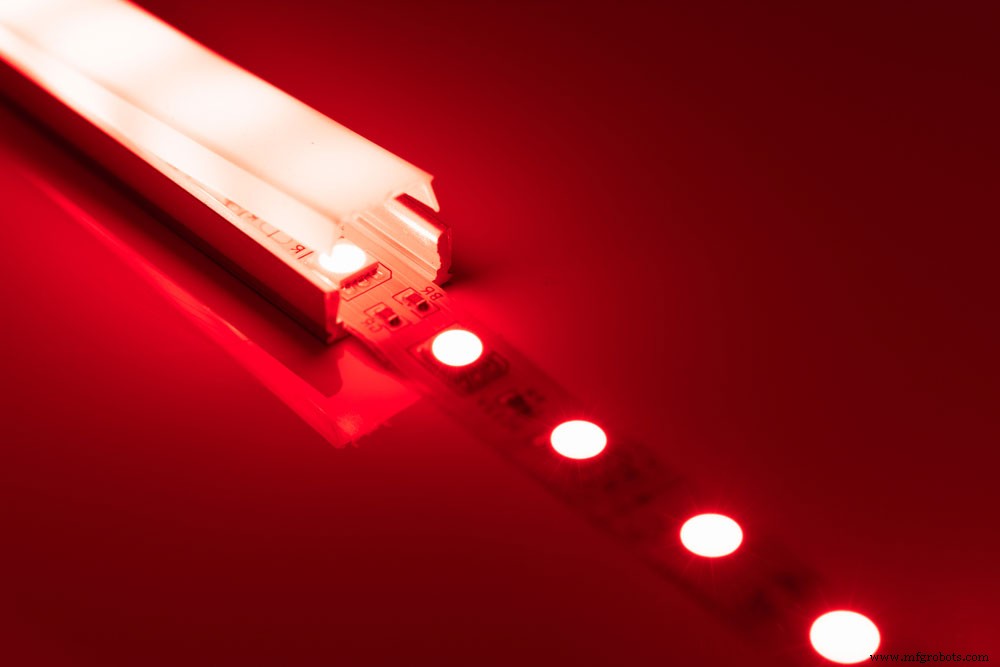
The next thing is to choose the most suitable aluminum extrusions required to house your LED strips.
We recommend you go for extrusions with a flat diffuser screen and deeper profile. Also, you can opt for one with an 11mm depth, which stays higher than the regular LED diffuser of 10mm.
But if you want the LED to stay farther away from the LED with a larger diffuser, you can go for a 17mm extrusion.
Langkah 3 – Dapatkan Perhitungan (Matematika) 2
Now, you have two aluminum extrusions to choose from, which are 10 and 17mm.
To get the best results, you need to consider two things about both sizes:
1. The 10mm extrusion overlaps only half of the aluminum cone. Plus, the borders nearly touch the LEDs and diffuser.
2. With the 17mm extrusion, you can have three cones overlap each other and still have space. In the end, you’ll enjoy better light distribution.
In short, getting the 17mm extrusion is a better and safer option.
Langkah 4 – Uji Ekstrusi
If you’re still unsure about the extrusion—10mm or 17mm, it’s best to take a test.
That way, you’ll find out which of them distributes your LED light strip better. It’s always good to do this test. Don’t assume 17mm will always be the best choice because it’s the more extensive option. Plus, you need to consider if you’d use the LED strip for a more prolonged exposure or not.
Langkah 5 – Pindahkan Difusor Jauh dari Sumber
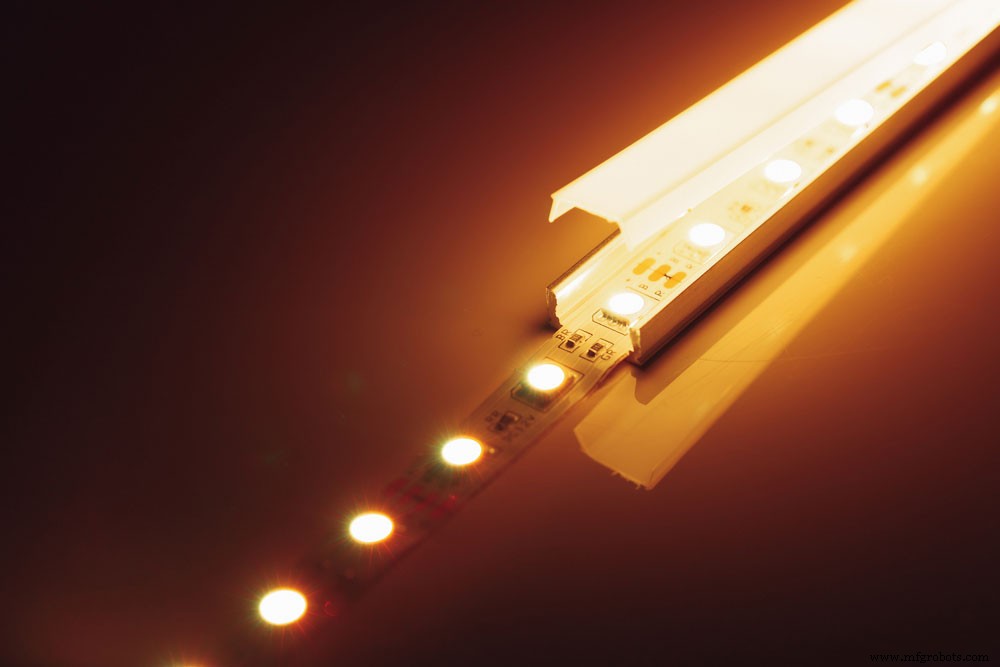
If you’ve established the 17mm extrusion as the best distributor of light, it’s not enough. You can still improve your LED lighting distribution.
Remember that an LED is a single source of light that only hits one direction. But with the help of a diffuser, it spreads evenly. And the diffuser has a flat surface. Hence, we have to consider the angle and light intensity of the diffuser.
And the best way to handle this part is to take the light source farther from the diffuser. For instance, you can have a 60 degrees angle for the extrusion, which has a 17mm depth.
Langkah 6 – Tingkatkan Hasil (2X Difusi)
There’s an easy and effective way to double your LED diffusion. And it’s by placing wadding between the diffuser and LED strip.
FAQs Difusor Lampu LED
Q1: Apakah lampu LED memerlukan difusor?
Yes, especially if you want to get even distribution of the LED lighting.
Q2: Bagaimana Cara Memadatkan Lampu LED Strip?
There are three simple ways:
1. Place an opaque material over the LED light.
2. Put a semi-transparent covering on top of the LED light.
3. Increase the distance between the diffuser and LED extrusion.
Q3: Dapatkah lampu LED strip menyebabkan kanker?
No, there’s no recorded case of LED strip causing cancer. And it’s because it doesn’t produce UV rays.
Kata Penutup
Now, you’ve got more comprehensive information about an LED strip diffuser. As we earlier stated, the diffuser does a great job in distributing light evenly. Not only that, it helps you remove the hot spots produced by LED lights.
So, it’s a tool we highly recommend you use when planning an LED lighting design. Plus, it’s possible for you to create your personal diffusers, as long as you consider the steps we listed here.
Moreover, we are eager to assist you in answering any other questions about the LED strip diffuser. So ,All you need to do is get in touch with us today!



