Pemaut Otomatis untuk Penemuan Arah Radio – Presisi, Kemudahan, dan Keandalan
Komponen dan perlengkapan
 |
|
× |
1 |
|
 |
|
× |
5 |
|
|
|
× |
1 |
|
 |
|
× |
1 |
|
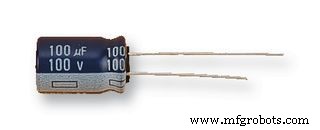 |
|
× |
1 |
|
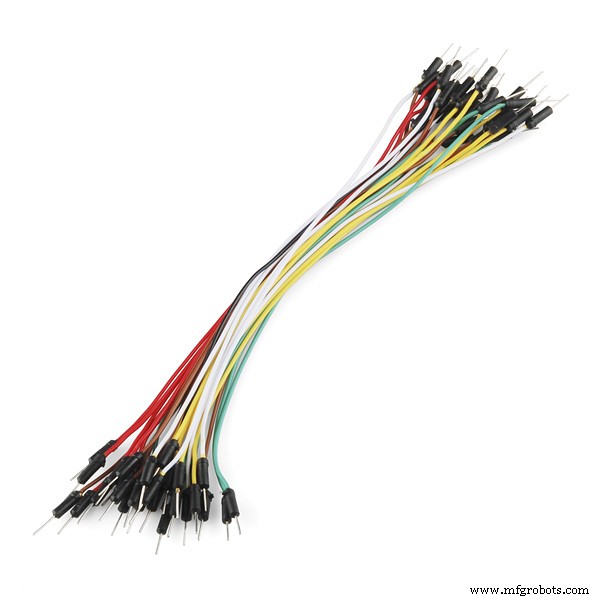 |
|
× |
1 |
|
|
| Plug headset/mikrofon eksternal untuk radio amateur Anda |
|
× |
1 |
|
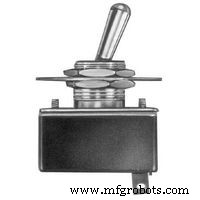 |
|
× |
1 |
|
Alat dan mesin yang diperlukan
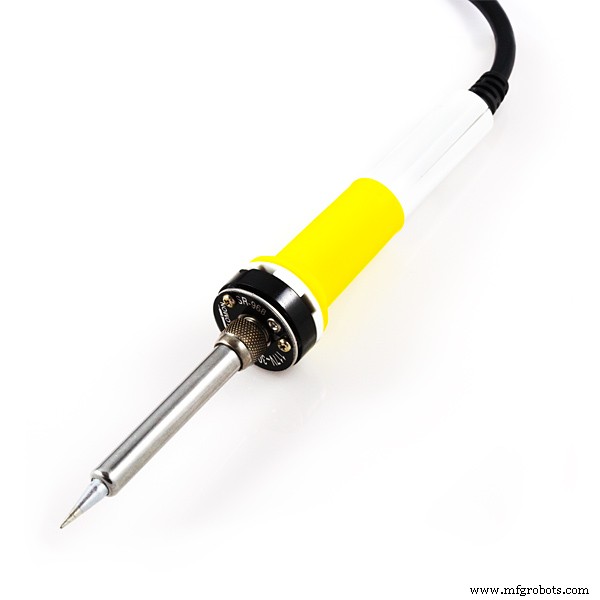 |
|
|
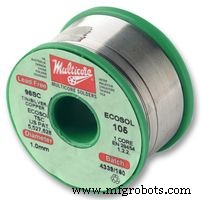 |
| Kawat solder, tanpa timbal |
|
|
|
|
|
Tentang proyek ini
Penggemar radio amateur sering mencoba menjaga keterampilan penemuan arah radio mereka tetap tajam dengan berlatih mencari radio yang tersembunyi di tempat yang jauh (disebut "rubah"). Keterampilan ini berguna untuk menemukan peralatan dan orang yang memiliki pemancar radio dan perlu ditemukan.
Proyek ini menggunakan Arduino untuk mengaktifkan radio agar dapat menyiar dan kemudian mengirimkan ID stasiun (tanda panggilan operator radio amateur) menggunakan kode Morse. Nada panjang kemudian dikirim. Saat menyiar, lokasi sinyal radio dapat ditentukan dengan tepat.
Saya mengalami "buruan rubah" pertama saya menggunakan penemuan arah radio di Institut Guru ARRL 2011 dan menyukainya (meskipun tim kami secara tidak sengaja menemukan "rubah" yang salah). Sepertinya ini akan menjadi kegiatan yang bagus untuk siswa SMP yang saya ajarkan di kelas sains saya. Sayangnya, membuat satu tampak terlalu rumit atau biayanya lebih banyak dari yang saya kuat untuk dibelanjakan.
Baru-baru ini, saya menyadari bahwa dengan radio 2 meter yang murah dan mikroprosesor yang dapat diprogram (seperti Arduino), saya dapat membuat "rubah" sendiri dengan biaya sangat sedikit, dan memiliki proyek belajar musim panas yang menyenangkan.
Untuk proyek ini, saya menggunakan radio Baofeng UV-3R karena murah (dan saya tidak lagi menggunakannya), dan Arduino Uno. Saya mengasumsikan penggunaan radio yang berbeda dengan jack yang berbeda akan memerlukan langkah yang serupa untuk menguji jack dan mikrofon, tetapi rangkaian dan sketsa Arduino akan sama kecuali tanda panggilan radio operator.
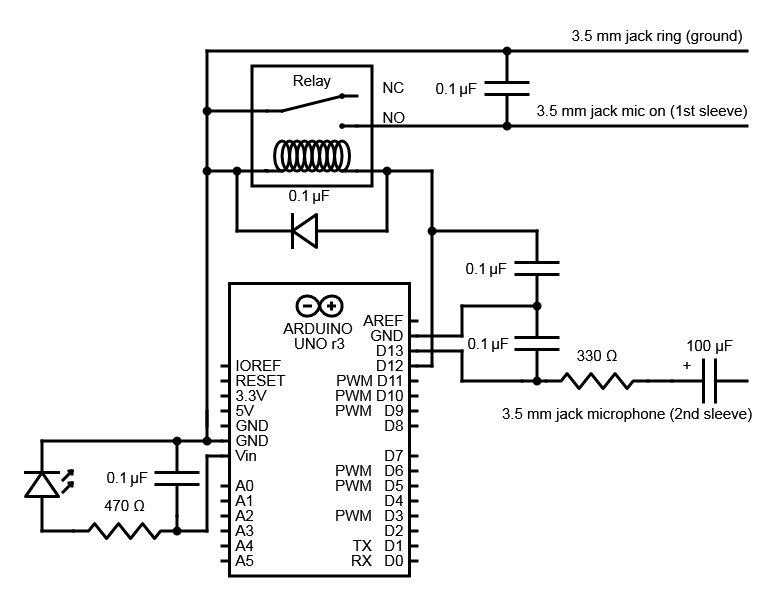
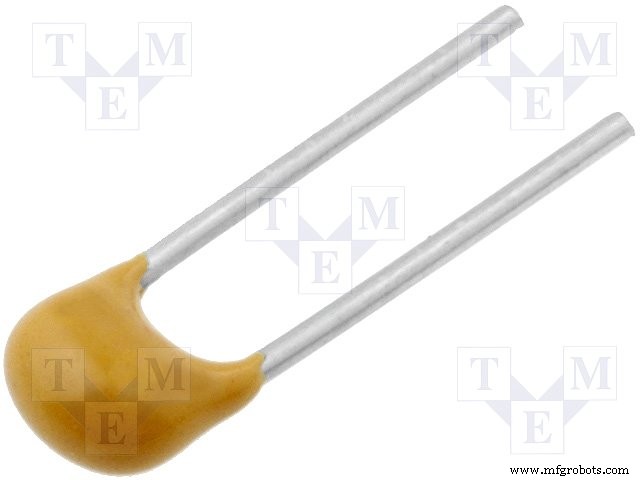
Catatan: Skematis kurang rumit dari yang terlihat. Kapasitor 0,01 mikrofarad ditambahkan untuk mencegah rangkaian menangkap RFI (gangguan frekuensi radio) saat menyiar. Tanpa mereka, Arduino melakukan hal-hal yang tidak biasa dan tidak konsisten (sering restart) saat radio menyiar sangat dekat dengan rangkaian. Kapasitor lainnya untuk meratakan gelombang persegi Arduino dan membuatnya gelombang sinus sehingga terdengar lebih baik.
Kode
- Pemaut Radio Buruan Rubah
Pemaut Radio Buruan RubahArduino
Arduino yang mengaktifkan radio untuk menyiar dan mengirimkan kode Morse untuk mengidentifikasi diri.
/*By Nelson Farrier Key up radio and send tone Keys up Baofeng UV-3R radio by turning on and off the relay, then ID's and and sends a 5 second tone. */ // Pin 12 is connected to a relay. // Pin 13 is connected to a tone circuit. // modified from: Mike Myers (https://mikemyers.me) @netnutmike // Let's Make It Episode 6 (https://tech-zen.tv/index.php/shows/let-s-make-it/episodes/59-sensor-fun-with-arduino-1-massive-failure-but-4-successes-let-s-make-it-episode-6) // define the morse code for the alphabet and numbers char* letters[] = { ".-", // A "-...", // B "-.-.", // C "-..", // D ".", // E "..-.", // F "--.", // G "....", // H "..", // I ".---", // J "-.-", // K ".-..", // L "--", // M "-.", // N "---", // O ".--.", // P "--.-", // Q ".-.", // R "...", // S "-", // T "..-", // U "...-", // V ".--", // W "-..-", // X "-.--", // Y "--.." // Z }; char* numbers[] = { "-----", // 0 ".----", // 1 "..---", // 2 "...--", // 3 "....-", // 4 ".....", // 5 "-....", // 6 "--...", // 7 "---..", // 8 "----." // 9 --- end of 1st segment of borrowed code from Mike Myers }; int relay = 12; int TonePin = 13; int frequency = 1000; // frequency of tone int dotDelay = 70; // duration of the dot in morse code, this is also the time between the dots and dashes int charDelay = 500; // duration of the wait between letters for Farsnworth method int wordDelay = 1100; // duration of the wait between words for Farsnworth method int cycleDelay = 15000; // HALF the duration because the largest value is 16383 // the setup routine runs once when you press reset: void setup() { // initialize the digital pin as an output. pinMode(12, OUTPUT); pinMode(13, OUTPUT); delay(2000); // initial delay after powering on } // the loop routine runs over and over again forever: void loop() { digitalWrite(relay, HIGH); // turn the relay on (HIGH is the voltage level) delay(1000); // wait for a second SendText("NF7Z FOX"); delay(1000); // wait for a second tone(TonePin, frequency); // send 7 sec tone delay(7000); noTone(TonePin); delay(10000); // 10 seconds transmit w/o tone digitalWrite(relay, LOW); // turn the relay off by making the voltage LOW delay(cycleDelay); // wait for cycle time (because the largest value is 16383) delay(cycleDelay); // wait for cycle time } //================================================================= // // modified from: Mike Myers (https://mikemyers.me) @netnutmike // Function: morseCodeSequence // // Input: Character Array of Dots and Dashes to be sent // // Description: // This function takes as input an array or "." and "-" and // calls dotOrDash for each item in the array. // // At the end of the sequence, there is a delay of 3 times // the dot duration. //================================================================= void morseCodeSequence(char* sequence) { int i = 0; // Loop for each element in the array while (sequence[i] != NULL) { dotOrDash(sequence[i]); // Send out the dot or dash i++; // Increment to the next element in the array } delay(charDelay); // gap between letters } //================================================================= // // Function: SendText // // Input: Character Array of text in English // // Description: // This function takes text as input and sends Morse code for each letter. // There then is a pause after each letter. // //================================================================= void SendText(char* MorseCodeLetters) { int i = 0; char ch; // Loop for each element in the array while (MorseCodeLetters[i] != NULL) { ch = MorseCodeLetters[i]; // Is it lowercase letter? if (ch >= 'a' && ch <= 'z') { morseCodeSequence(letters[ch - 'a']); } else if (ch >= 'A' && ch <= 'Z') // Uppercase Letter { morseCodeSequence(letters[ch - 'A']); } else if (ch >= '0' && ch <= '9') // Number { morseCodeSequence(numbers[ch - '0']); } else if (ch == ' ') // Space (wait for 4 times dotDelay { delay(wordDelay); // gap between words } else { } i++; // Increment to the next element in the array } delay(charDelay); // gap between letters } //================================================================= // // Function: dorOrDash // // modified from: Mike Myers (https://mikemyers.me) @netnutmike // Input: Character that should be either a dot or a dash // // Description: // This function first turns on the output then looks to see // if the character is a "." and if so delays the dotDelay. // // If the character is not a "." then the routine assumes it // is a "-" and keep the output high for 3 times the length of // dotDelay. This could be improved by making sure the // character is a "-" but for most cases it would not matter. // // After the delay time the pin is taken low turning off the // tone. // // Then it delays for one dotDelay time so the dots and dashes // do not run together. //================================================================= void dotOrDash(char dotOrDash) { tone(TonePin, frequency); if (dotOrDash == '.') { delay(dotDelay); } else // must be a - { delay(dotDelay * 3); } noTone(TonePin); delay(dotDelay); // gap between flashes }
Skematik