Proyek LCD Arduino DIY: Rangkaikan dengan Resistor, Tombol, dan Layar 16x2
Komponen dan Perlengkapan
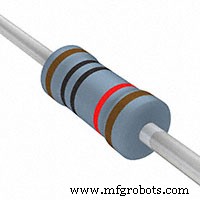 | | × | 2 | |
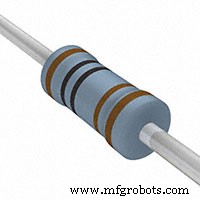 | | × | 1 | |
 | | Tombol Push SparkFun 12mm |
| × | 1 | |
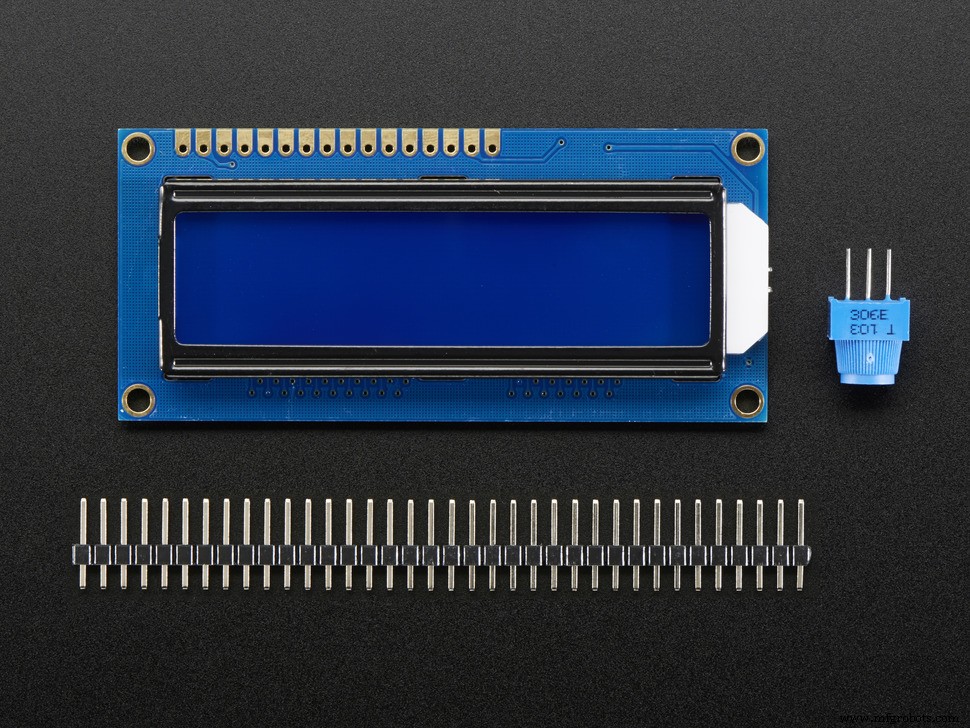 | | Layar Standar Adafruit - 16x2 Putih pada Biru |
| × | 1 | |
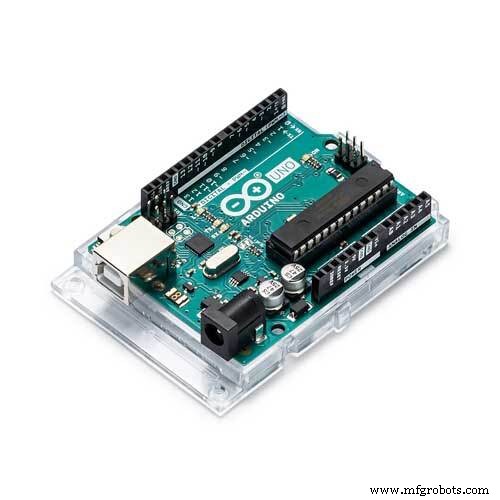 | | × | 1 | |
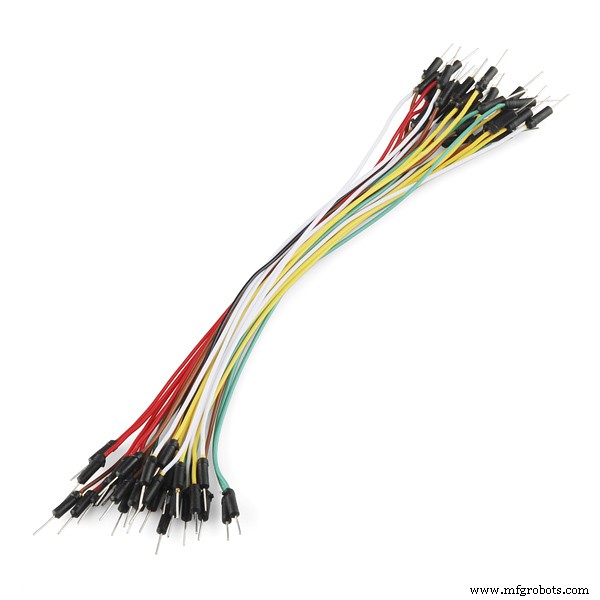 | | × | 1 | |
Tentang Proyek Ini
Latar Belakang
Saya terlibat dalam proyek yang lebih besar tetapi ada keterlambatan. Jadi saya memutuskan untuk melakukan sesuatu dengan kit Arduino lama saya. Saya belum pernah menggunakan layar LCD sebelumnya. Jadi, saya solder pin ke layar (saya mempelajari soldering untuk pertama kalinya).
Awalnya saya menyalin kode dari manual online dan mengunggahnya. Hanya menampilkan teks, bergerak ke kanan dan kiri. Inilah ketika saya diperkenalkan dengan library LiquidCrystal. Saya menulis kode yang membuat angka "0" meluncur di sekitar layar, ini cukup menyenangkan. Itulah ketika saya berpikir untuk membuat sesuatu yang sedikit lebih kompleks, sebuah permainan. Saya mencari di Google untuk permainan lcd pada arduino dan hanya menemukan 3 permainan, 2 di antaranya bekerja untuk saya. Kode untuk permainan ini terlalu kompleks bagi saya untuk dipahami, jadi saya memutuskan untuk membuat permainan yang mudah.
Pengaturan
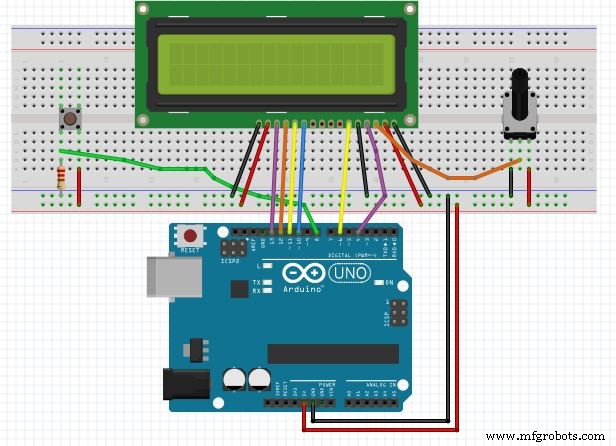
Hubungkan pin lcd ke arduino dengan kabel seperti yang ditunjukkan dalam skematika di bawah ini.
Saya menggunakan potensiometer 10k untuk menyesuaikan kontrast dan menyesuaikannya untuk kontrast yang saya inginkan. Saya mengukur resistensi antara pin dengan multimeter dan menggunakan resistor yang sesuai (1k dan 10k ohm dalam seri) untuk pin VO pada LCD.
Letakkan tombol push pada breadboard dan hubungkan kabel input ke pin 8 pada arduino. Unggah kode ke arduino Anda dan Anda siap digunakan.
Catatan: Gunakan resistor tombol dalam mode pull-down, seperti yang ditunjukkan dalam skematika.
Memainkan Permainan
Dalam permainan ini, Anda adalah seorang pemain sepak bola dengan bola di kaki Anda. Anda akan memiliki penjaga yang mendekati Anda, dan Anda cukup harus menghindari mereka.
Setelah intro, tekan tombol ketika diminta. Ketika penjaga mendekat cukup, tekan tombol untuk melompat. Penjaga berikutnya akan mendekat dengan kecepatan yang lebih tinggi, dan ini berlanjut selama 10 penjaga.
PS: Awalnya saya menggunakan "0" sebagai kontrol, dan "1" sebagai rintangan. Karena Piala Dunia FIFA 2018 sedang berlangsung dan saya sendiri penggemar Messi, saya memutuskan untuk mengubah tema.
Saya membuat glif untuk pemain dan penjaga menggunakan generator online, tautan disediakan di sini: https://omerk.github.io/lcdchargen/
Kode
lcd_1.inoArduino
/* Dodge the defs!! Created by : Shreyas R P Created on: 21-06-2018 E-mail ID : shreyasrp888@gmail.com A simple game for 16x2 LCD with a button. If you make any improvements or changes to the game, please add your credits below the line: Enjoy :) Copyright (C) 2018 Shreyas R P This program is free software: you can redistribute it and/or modify it under the terms of the GNU General Public License as published by the Free Software Foundation, either version 3 of the License, or (at your option) any later version. This program is distributed in the hope that it will be useful, but WITHOUT ANY WARRANTY; without even the implied warranty of MERCHANTABILITY or FITNESS FOR A PARTICULAR PURPOSE. See the GNU General Public License for more details. You should have received a copy of the GNU General Public License along with this program. If not, see <https://www.gnu.org/licenses/>. --------------------------------------------------------------------------------------------- */ #include <LiquidCrystal.h> const int btn = 8; //button input pin //texts to display char* introText[]={"Dodge the defs!!","Created on: ", "Hit the button..."}; //variable declarations int game=0; int buttonPress = 0; int buttonState=0; int obstaclePos; int obsDelay; int score=0; unsigned long lastDebounceTime = 0; // the last time the output pin was toggled unsigned long debounceDelay = 50; int lastButtonState=LOW; //GRAPHICS byte runnin1[8] = { 0b01100, 0b01100, 0b00000, 0b11100, 0b01110, 0b01100, 0b11110, 0b00011 }; byte runnin2[8]={ 0b00110, 0b00110, 0b00000, 0b00111, 0b01110, 0b00110, 0b01110, 0b00101 }; byte jump[8]={ 0b00100, 0b01100, 0b11100, 0b01110, 0b01100, 0b11111, 0b00000, 0b00001 }; byte def1[8] = { 0b00100, 0b00110, 0b00111, 0b01110, 0b00110, 0b01111, 0b01000, 0b00000 }; byte def2[8]={ 0b00100, 0b00110, 0b00111, 0b01110, 0b00110, 0b00110, 0b00110, 0b00010 }; byte slide[8]={ 0b00000, 0b00000, 0b00011, 0b00011, 0b00000, 0b01111, 0b11111, 0b00000 }; LiquidCrystal lcd(4,6,10,11,12,13); void setup() { Serial.begin(9600); pinMode(btn,INPUT); lcd.begin(16,2); lcd.createChar(0,runnin1); lcd.createChar(1,runnin2); lcd.createChar(2,jump); lcd.createChar(3,def1); lcd.createChar(4,def2); lcd.createChar(5,slide); buttonState=digitalRead(btn); } void loop() { intro(); while(game==1) ballActive(); endGame(); } void intro() { score=0; lcd.clear(); lcd.print(introText[0]); //Instead of declaring introText, you can directly print the text with " ... " lcd.setCursor(7,1); lcd.print("By SRP888"); delay(2000); lcd.clear(); lcd.print(introText[1]); lcd.setCursor(0,1); lcd.print("21-06-2018"); delay(2000); lcd.clear(); while(button()!=1) //wait for the user to hit the button, display the text until that. { lcd.setCursor(0,0); lcd.print(introText[2]); delay(100); } if(button()==1) game=1; } void reset() { if(obstaclePos%2==0) //Changing the display of the player from one pose to another to show he is running, smartly using obstaclePos. { lcd.clear(); lcd.setCursor(0,1); lcd.write(byte(0)); } else { lcd.clear(); lcd.setCursor(0,1); lcd.write(1); } } void ballActive() { obsDelay=200; //initial delay for the defender obstaclePos=15; //since it is a 16x2 lcd, and index starts from 0. while(game==1) { reset(); if(button()==1) //if button is pressed. { lcd.clear(); lcd.setCursor(0,0); lcd.write(2); //print the player jumping obstacle(obstaclePos); //print the defender delay(400); //This is to prevent the display disappearing fast, and going unnoticed. lcd.clear(); lcd.setCursor(0,1); lcd.write(1); //print the player back on ground obstacle(obstaclePos); //print the defender } else { if(obstaclePos!=0) //if the defender has not approached the player, then continue. { reset(); obstacle(obstaclePos); } else if(obstaclePos==0) //if the defender is at 0 position,i.e. he has approached the player when he is on ground, then end the game. { game=0; break; } } obstaclePos--; //brings the defender closer to the player if(obstaclePos<0) //if the player successfully dodged then, { obsDelay=obsDelay-20; //decrease the delay (increase speed), obstaclePos=15; //bring the defender to starting position, score++; //and increase the score by 1. } if(obsDelay==0) //if 10 players have been dodged (because 200/20=10), then end the game game=0; delay(obsDelay); } } int button() { int reading = digitalRead(btn); // If the switch changed, due to noise or pressing: if (reading != lastButtonState) { // reset the debouncing timer lastDebounceTime = millis(); } if ((millis() - lastDebounceTime) > debounceDelay) { buttonState = reading; if (buttonState == HIGH) { lastButtonState = reading; return 1; } } lastButtonState = reading; } void obstacle(int i) { if(obstaclePos%2==0&& obstaclePos>2) //if defender is far away from the player, then show him running { lcd.setCursor(i,1); lcd.write(3); } else if(obstaclePos%2!=0&& obstaclePos>2) { lcd.setCursor(i,1); lcd.write(4); } else //if he is 2 steps close to the player, then show him sliding { lcd.setCursor(i,1); lcd.write(5); } } void endGame() { if(score==10) { lcd.clear(); lcd.print("Congratulations!"); lcd.setCursor(0,1); lcd.print("You beat 'em all"); delay(3000); } else if(score<3) { lcd.clear(); lcd.print("You suck"); lcd.setCursor(0,1); lcd.print("Score: "); lcd.print(score); delay(3000); } else if(score<6) { lcd.clear(); lcd.print("Not bad!"); lcd.setCursor(0,1); lcd.print("Score: "); lcd.print(score); delay(3000); } else { lcd.clear(); lcd.print("Great!"); lcd.setCursor(0,1); lcd.print("Score: "); lcd.print(score); delay(3000); } }
Skematik